Master WordPress Site Editor with Versana. Change colors, fonts, layouts, and templates visually. No coding required. Complete tutorial.
Introduction to the WordPress Site Editor
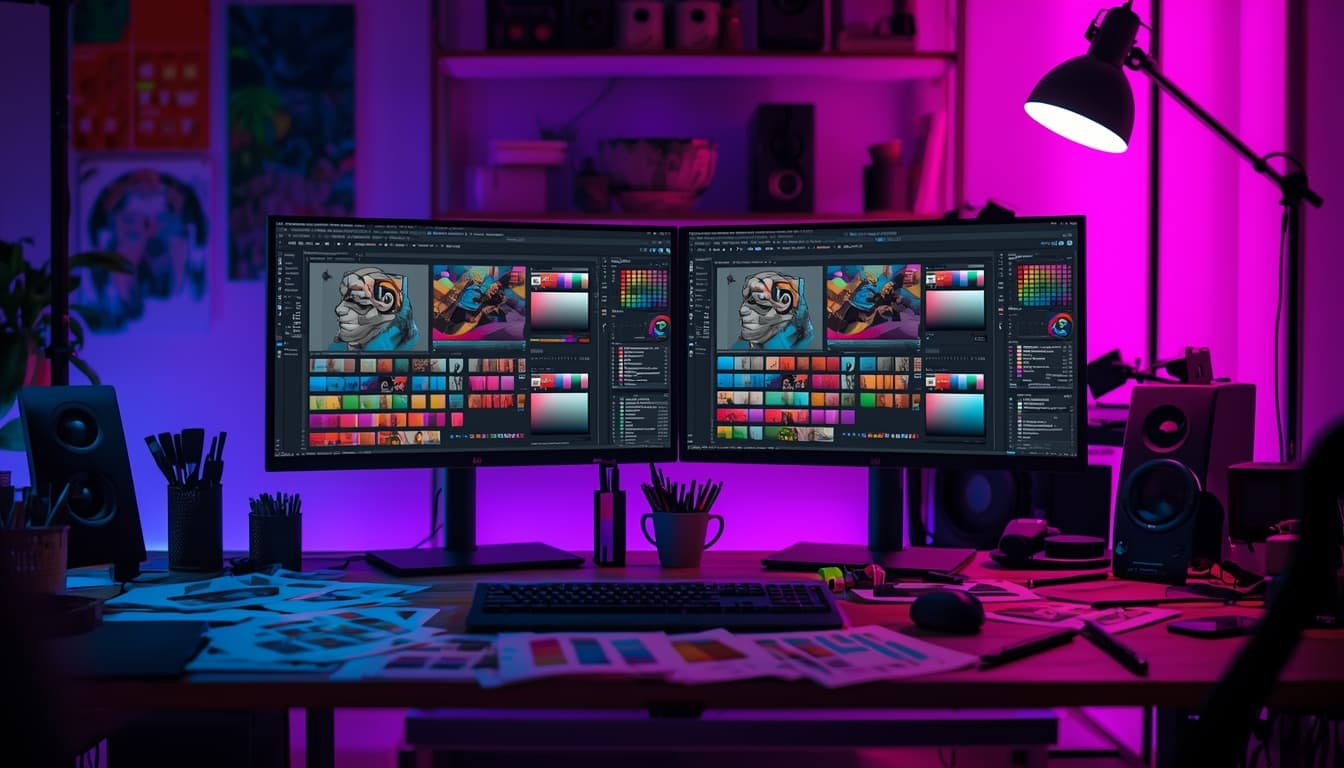
The WordPress Site Editor is your design control center. It’s where you customize everything about your Versana theme – colors, fonts, spacing, templates, and more. The best part? It’s completely visual. No code required.
Think of the Site Editor as Photoshop for your website. You see your changes in real-time and everything is point-and-click.
In this guide, we’ll show you exactly how to customize Versana to match your brand, from changing colors to editing templates.
Accessing the Site Editor
There are three ways to access the Site Editor:
Method 1: From Admin Dashboard
- Go to Appearance → Editor
- You’ll see the full site editing interface
Method 2: From the Admin Bar
- Visit any page on your site
- Click “Edit Site” in the admin bar at top
Method 3: From Theme Options
- Go to Appearance → Theme Options
- Click “Open Site Editor” button
First Time? Don’t worry if it looks overwhelming. We’ll walk through everything step by step.
Understanding the Site Editor Interface
The Site Editor has several key areas:
Left Sidebar:
- Templates (homepage, blog, single post, etc.)
- Template Parts (header, footer)
- Patterns (pre-designed sections)
- Styles (colors, fonts, spacing)
Center Canvas:
- Live preview of your site
- Click to edit any element
- See changes in real-time
Right Sidebar:
- Block settings
- Advanced options
- Style controls
Top Toolbar:
- Save button
- Undo/Redo
- Preview modes
- Settings
Customizing Colors
Colors define your brand. Here’s how to change them:
Global Color Palette:
- Click “Styles” in left sidebar
- Click the palette icon (looks like a paint palette)
- Click “Colors”
- You’ll see Versana’s color palette
Versana’s Default Colors:
- Primary:
#1A73E8(Blue) - Secondary:
#E91E63(Pink) - Tertiary:
#9C27B0(Purple) - Neutrals: White to Black scale
- Status: Success, Warning, Error, Info
To Change a Color:
- Click on any color swatch
- Use the color picker to choose new color
- Or enter hex code directly
- Changes apply site-wide instantly
Pro Tip: Stick to 2-3 brand colors for professional look. Don’t change every color just because you can!
Apply Colors to Elements:
- Select any block in the editor
- Click “Color” in right sidebar
- Choose from your palette
- Options: Background, Text, Link colors
Changing Typography
Fonts create the personality of your site:
Global Typography:
- Click “Styles” in left sidebar
- Click “Typography”
- You’ll see font settings
What You Can Change:
- Font Family (typeface)
- Font Sizes (predefined scale)
- Line Height (spacing between lines)
- Letter Spacing
Versana’s Font Sizes:
- XSmall: 0.75rem
- Small: 0.875rem
- Base: 1rem
- Medium: 1.125rem
- Large: 1.25rem
- XLarge to 4XLarge: Up to 3rem
Changing Fonts:
- Click “Typography” in Styles
- Select “Font Family”
- Choose from:
- System Sans-serif (default, fast loading)
- System Serif (elegant, traditional)
- System Monospace (code, technical)
Custom Fonts: Versana uses system fonts for performance, but you can add Google Fonts:
- Go to Site Editor -> Styles -> Typography -> Select any Font -> Install Fonts
- Connect Google Fonts
- Choose custom fonts
- Apply in Site Editor
Typography Best Practices:
- Use 2 fonts max (one for headings, one for body)
- Maintain 1.5-1.6 line height for readability
- Keep base font size at 16px minimum
- Test on mobile devices
Adjusting Spacing
Spacing makes or breaks design. Too little feels cramped, too much feels disconnected.
Versana’s Spacing Scale:
- 3XSmall: 0.25rem
- 2XSmall: 0.375rem
- XSmall: 0.5rem
- Small: 1rem
- Medium: 1.5rem
- Large: 2rem
- XLarge: 3rem
- 2XLarge: 4rem
- 3XLarge: 5rem
- 4XLarge: 6rem
Global Spacing:
- Click “Styles” → “Layout”
- Adjust:
- Content Width (default: 800px)
- Wide Width (default: 1200px)
- Padding (page margins)
- Block Gap (space between elements)
Block-Level Spacing:
- Select any block
- Click “Dimensions” in right sidebar
- Adjust:
- Padding (inside space)
- Margin (outside space)
- Min Height
Common Spacing Adjustments:
- Section padding: 4xl-6rem (top/bottom)
- Element margins: md-1.5rem (between blocks)
- Card padding: lg-2rem (inside boxes)
- Button padding: Custom per design
<!– wp:heading {“level”:2} –>
Editing Templates
Templates control the layout of different page types:
Available Templates in Versana:
- Blog Home (posts index)
- Single Post
- Page
- Archive
- Search Results
- 404 Error
To Edit a Template:
- Click “Templates” in left sidebar
- Select template to edit
- Make your changes
- Click “Save”
Editing the Homepage:
- Templates → Homepage
- You’ll see your current homepage layout
- Add, remove, or rearrange patterns
- Customize content
- Save
Common Homepage Edits:
- Replace hero image
- Change headline text
- Swap out sections
- Adjust spacing
- Update colors
Editing Single Post Template: This controls how all blog posts look:
- Templates → Single Post
- Edit:
- Post title styling
- Featured image size
- Content width
- Sidebar (if any)
- Related posts section
- Save
Your changes apply to ALL posts automatically!
Customizing Template Parts
Template Parts are reusable sections that appear on multiple pages:
Header Template Part: The header appears on every page. To edit:
- Click “Template Parts” → Header
- Modify:
- Logo (replace site title with image)
- Navigation menu
- Layout (centered vs left-aligned)
- Background color
- Sticky header behavior
Adding Your Logo:
- Edit Header template part
- Select “Site Title” block
- Delete it
- Add “Image” block
- Upload your logo
- Link to homepage
- Save
Footer Template Part:
- Template Parts → Footer
- Edit:
- Footer columns
- Navigation links
- Social media icons
- Copyright text
- Background color
Pro Tip: Use Versana’s footer pattern as starting point, then customize.
Using Style Variations
Versana includes 3 style variations matching the demos:
Blog Style:
- Pink and orange colors
- Serif fonts
- Warm, inviting feel
- Line height: 1.75
Business Style:
- Blue color scheme
- Sans-serif fonts
- Professional appearance
- Clean, modern
Portfolio Style:
- Purple and pink colors
- Bold typography
- Creative, artistic
- High contrast
To Switch Styles:
- Click “Styles” in left sidebar
- Browse style variations
- Click on any to preview
- Click “Save” to apply
Mix and Match: You can apply a style variation, then customize individual elements. For example:
- Start with Business style
- Change primary color to your brand
- Keep everything else
Advanced Customization Techniques
Creating Custom Patterns:
- Design a section you like
- Select all blocks in that section
- Click three dots → “Create Pattern”
- Name your pattern
- Reuse on other pages
Adding Custom CSS: For advanced users who know CSS:
- Go to Appearance → Theme Options → Advanced
- Add CSS in “Custom CSS” field
- No
<style>tags needed - Changes apply immediately
Responsive Design: The Site Editor doesn’t show mobile preview directly, but:
- Click “Preview” in top toolbar
- Test on actual mobile device
- Or use browser dev tools
- Versana is mobile-first by default
Reverting Changes: Made a mistake? You can undo:
- Click “Undo” button (or Ctrl/Cmd + Z)
- Or reset entire template:
- Templates → Select template
- Three dots → “Clear customizations”
- Resets to default
Common Customization Recipes
Recipe 1: Change Brand Colors
- Styles → Colors
- Change Primary to your brand color
- Optionally change Secondary and Tertiary
- Leave neutrals as-is
- Save
Recipe 2: Add Sticky Header
- Appearance → Theme Options → Header
- Enable “Sticky Header”
- Save
- Header now sticks on scroll
Recipe 3: Change Homepage Layout
- Templates → Homepage
- Remove unwanted sections (select & delete)
- Add new patterns from left sidebar
- Rearrange by dragging
- Save
Recipe 4: Customize Footer
- Template Parts → Footer
- Edit column content
- Replace social links with yours
- Update copyright text
- Change background color
- Save
Recipe 5: Create Dark Mode
- Styles → Colors
- Change Background to dark gray/black
- Change Text to white/light gray
- Adjust accent colors for contrast
- Save as new style variation
Performance Considerations
The Site Editor makes customization easy, but consider these tips:
Avoid Over-Customization:
- Too many unique styles slow loading
- Stick to theme’s design system
- Use predefined spacing/colors
Optimize Images:
- Compress images before uploading
- Use appropriate sizes
- Enable lazy loading (Versana does this)
Minimize Custom CSS:
- Use built-in options when possible
- Custom CSS adds file size
- Keep it minimal and organized
Test After Changes:
- Run PageSpeed Insights
- Check mobile performance
- Ensure 90+ score maintained
Troubleshooting Common Issues
Changes Not Saving:
- Check browser console for errors
- Disable caching plugins temporarily
- Try different browser
- Clear WordPress cache
Can’t Find Option:
- Some features in Theme Options, not Site Editor
- Check both locations
- Review this guide
Broke Something?:
- Click Undo button
- Or reset template to default
- Worst case: re-import demo
Styles Look Wrong:
- Clear browser cache
- Disable caching plugins
- Check for conflicting plugins
- Test in incognito mode
Mobile Looks Different:
- This is often intentional (responsive design)
- Test on actual device
- Check preview at various sizes
- Adjust with custom CSS if needed
Best Practices Summary
Do’s:
- Save frequently
- Test on mobile
- Stick to design system
- Use predefined values
- Keep it simple
- Maintain consistency
Don’ts:
- Don’t use too many colors
- Don’t mix too many fonts
- Don’t over-customize spacing
- Don’t ignore mobile view
- Don’t skip saving
- Don’t be afraid to reset
Next Steps
You now know how to customize Versana with the Site Editor! Here’s what to do next:
- Practice: Make small changes and see what happens
- Experiment: Try different style variations
- Customize: Apply your brand colors and fonts
- Refine: Adjust spacing and layouts
- Launch: Publish your customized site
Remember: Versana is designed to look great with minimal customization. Don’t feel you need to change everything!
Need Help? Visit our support forum or check out our video tutorials.
Happy customizing!


Leave a Reply